Lettori fissi

martedì 28 aprile 2015

SCATOL...iamo!? - How to do a Match Box (DT Sara)

Ciao scrappine belle!
Sono Sara ed oggi trascorreremo un po' di tempo insieme a pastrocchiare con carta e colla.
Ultimamente sto creando senza sosta e, volendo regalare alle mie amiche ciò che nasce dalle mie serate creative davanti la tv, sono alla ricerca di packaging sempre diversi per confezionare i miei lavoretti.
Proprio per questo, oggi voglio mostrarvi come realizzare una "match box", una scatolina molto versatile, con l'aiuto della mitica Envelope Punch Board.
Siete pronte? 

Hello everyone!
This is Sara and today I'm here to show you how create a beautiful and simply "match box" thanks to the help of the Envelope Punch Board.
Are you ready? 


Materiale:
- Envelope Punch Board
- carta scrap della fantasia che preferite
- cartocino da 200 grammi per la struttura delle seguenti misure: un quadrato di 6"x6" (15,2x15,2 cm), un rettangolo di 7"x 3" 3/4 (17,7x9,5 cm), un rettangolo di 3" 1/2 x 2" 1/4 (8,8x5,7 cm)
- colla
- punch ed abbellimenti per la decorazione

Materials:
- Envelope Punch Board
- patterned paper
- 3 pieces of cardstock (200gr) cut with the following measures: a square 6"x6" (15,2x15,2   cm), a rectangle of 7"x 3" 3/4 (17,7x9,5 cm), a rectangle of 3" 1/2 x 2 " 1/4 (8,8x5,7 cm)
- glue
- punch and embellishments for decoration


Iniziamo!

Let's start!


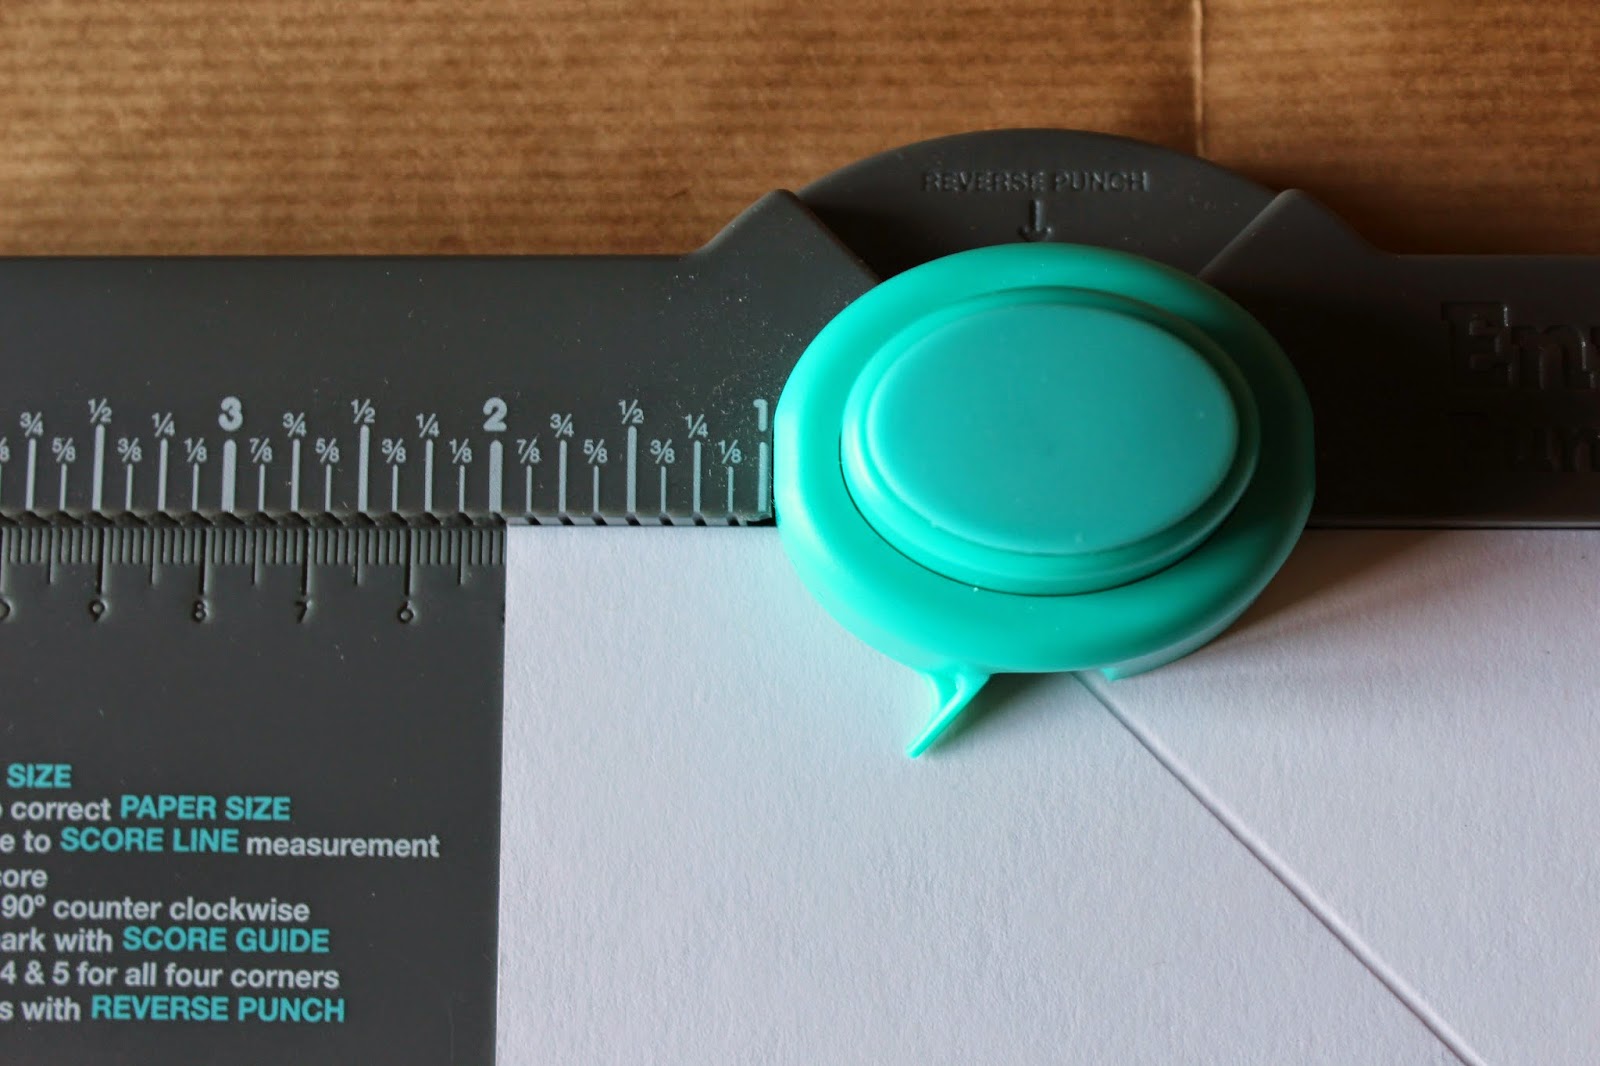
1) Prendere il quadrato di 6x6 pollici e, con l'aiuto dell'envelope, fare due punchate con le
     relative pieghe rispettivamente a 2 e a 3 pollici.

    Take the 6"x6" square and, with the help of the envelope, make two punches and            two folds respectively at 2 and 3 inches.


2) Ruotare il foglio e, allineando l'indicatore della envelope con le pieghe appena fatte,
     punchare e segnare le pieghe successive. Ripetere l'operazione per tutti i lati.

    Turn the paper, align the green pointer with the folds, punch and mark the new folds.     Repeat for all sides.


Questo è il risultato!

This is the result!


3) Ripassare bene le pieghe con l'aiuto della pieghetta e tagliare, come mostrato in foto, solo un lato dei quattro quadratini che si sono formati ai lati del foglio.

   Mark the folds and cut, as shown in the picture, only one side of the four squares           formed at the paper's corners.


4) Per creare la maniglietta, piegare la linguetta di un lato corto verso l'interno, posizionare il          foglio sulla envelope, centrarlo in corrispondenza del bottone verde e punchare. 

    To create the handle, fold inward the tab of the short side, place the sheet on the         envelope, centered at the green button and punch.


5) Incollare la scatolina e, per coprire le linguette sul fondo, incollare su di esso il rettangolino di cartoncino rimasto. Abbiamo finito il cassettino interno.

  Glue the box and, in order to cover the tabs on the bottom, glue on it a little piece of   paper (the rectangle of 3" 1/2 x 2 " 1/4). We just finish the inner part of the box.


6) Prendere il rettangolo di 7" x 3" 3/4 e, con il lato lungo verso l'alto, posizionarlo nella scoringboard e fare delle pieghe a 3/4, 3" 1/8, 3" 7/8 e 6" 1/4. Ripassare le pieghe e incollare. Abbiamo finito la parte esterna della scatola.

   Take the  7 "x 3" 3/4 rectangle and, with the long side up, place it in the scoring
   board and make the folds at 3/4, 3 1/8 ", 3" and 6 7/8 "1/4. Mark the folds and glue.        We just finish the outer part of the box.


E questo è il risultato!

And this is the result!


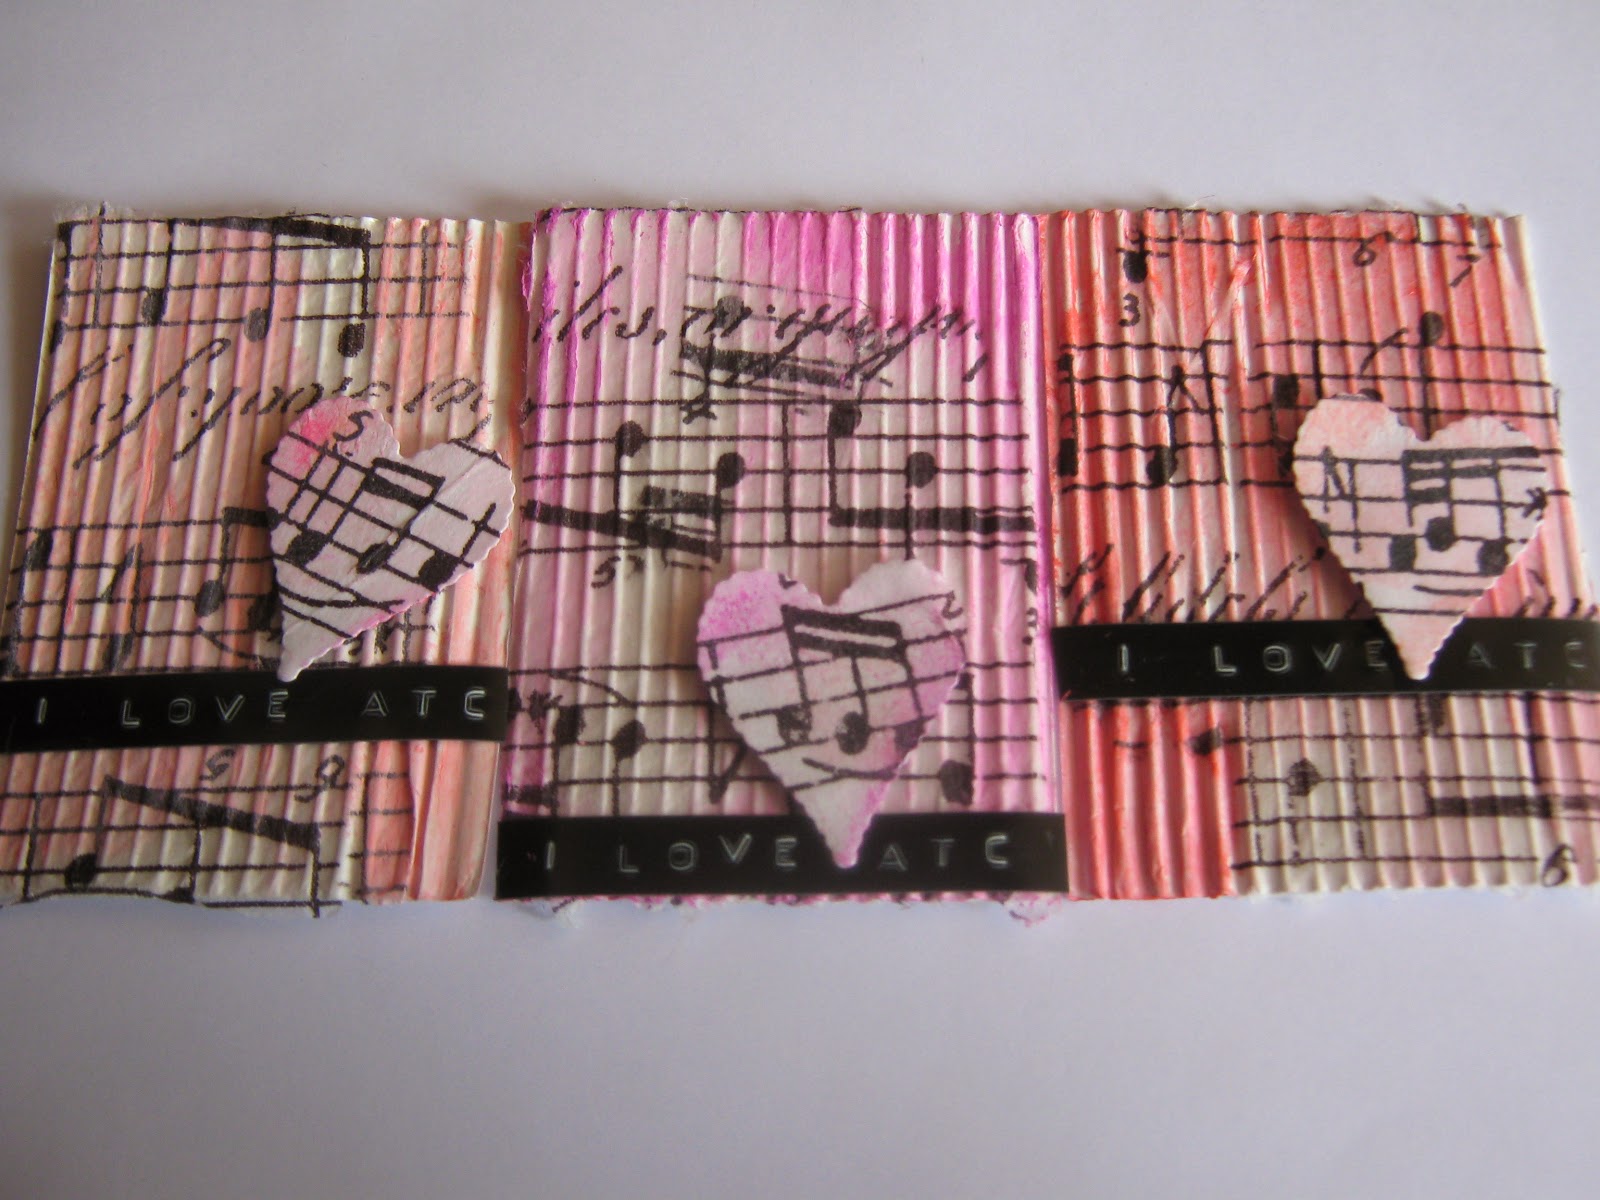
7) A questo punto non ci resta che decorare la scatolina scatenando la nostra fantasia! Ecco la mia versione.

  Now we just have to decorate the box sparking our imagination! Here's my version.


Siamo arrivate alla fine del tutorial...che ne dite? Vi è piaciuta questa scatolina? Spero di si e spero che vi siate divertite a farla insieme a me!
A questo punto non mi resta che salutarvi e darvi appuntamento al prossimo post!

Baci,
Sara


We arrive at the end of the tutorial...what do you think about it? Did you enjoy this little box? I hope you like it and I hope you had fun to do it with me!

Now I just have to greet you and see you at the next post!

Xoxo,
Sara


martedì 21 aprile 2015

Tutorial twisted easel card

Ciao a tutti oggi vi mostro come fare una Twisted Easel Card.

Hello everyone today I show you how to make a Twisted Easel Card.
Ci occorre un cartoncino di base che misuri 28,4mm X 14 cm

 We need a cardboard base that measures 14 cm x 28,4mm
 fare una piega a 14cm

  make a fold at 14cm

poi mettere il foglio in diagonale 

 then put the paper diagonally
mi raccomando posizionatelo perfettamente dritto

 I recommend you place it perfectly straight
a questo punto tracciamo una piega 

at this point we draw a fold
dovremmo avere questo risultato 

 we should have this result
 ed ora non resta che decorare la card io ho utilizzato mezzo triangolo perforato.

and now you just have to decorate the card I used half triangle perforated.

varie targhette,un timbro della hero arts sweet wonderful you
colorato con i copic ho utilizzato una penna a gel glitterata per dare un pò di luccichio...
dei fiorellini e un fiocco.. spero vi piaccia alla prossima
un abbraccio dalla votra Tiny...

various nameplates, a stamp of the hero arts sweet wonderful you
colored with copic I used a pen to glitter gel to give a bit of shimmer ...
of flowers and a bow .. I hope you like the next
a hug from your private Tiny ...


martedì 14 aprile 2015

Artistic Trading Card (DT LITTLEFROGRANOCCHIA)

Buongiorno care amiche creative
Oggi tutorial sulle ATC .....
 Hello dear friends creative
Today tutorial on ATC .....
Le ATC   Trading Cards  sono piccole card e hanno un formato preciso 64 mm x 89 mm e  non c' è limite alle tecniche e materiali ... Oggi ho usato del cartoncino ondulato bianco ,dopo aver misurato  e tagliato vi ho incollato della carta e una volta asciutte le ho passato del medium per preparale a ricevere il colore....
The ATC Trading Cards are small cards and have a precise format 64 mm x 89 mm and not c 'is no limit to the techniques and materials ... Today I used the corrugated white, after I measured and cut and pasted paper a once dry I spent medium to prepare them to receive the color ....


Ho passato i colori gelatos sulle atc ,a parte ho incollato su del cartocino la stessa carta e poi fustellato dei cuori e poi colorati sempre con i gelatos,con la dymo ho scritto la frase I love atc e succesivamente incollata sulle atc insieme hai cuori...
Spent the colors gelatos on atc, except I glued on the cartocino the same card and then die-cut hearts and then stained forever with gelatos, with dymo I wrote the phrase I love atc and subsequently glued together on atc have hearts...


Ed ecco il risultato finale...
 And here is the end result...
Grazie  a presto!
 LittleforRanocchia
 Thank you soon!  
Littleford Ranocchia

martedì 7 aprile 2015

How To Pillow Box "Tim Holtz" (DT Melissa)

Buongiorno
 dolci amiche creative
Oggi realizzeremo una semplice scatolina con l'utilizzo della Pillow Box di Tim Holtz

 Good Morning
  sweet creative friends
Today we realize a simple box with the use of the Pillow Box Tim Holtz

Direte,Ah tutto qui...per chi è alle prime armi con lo scrapbooking può essere un idea 
molto utile,semplice e d'effetto,ad esempio per chi in questo periodo è impegnato con cresime e comunioni e non sa magari che bomboniera poter realizzare.
In pochi semplici passi vi insegnerò a realizzarne una.
Iniziamo col materiale di cui avrete bisogno.
You will say, Oh that's all ... for those who are beginners with scrapbooking can be an idea
very useful, simple and striking, for example, for those who at this time is busy with confirmations and communions and does not know maybe that candy can achieve.
In a few simple steps will teach you to make one.
Let's start with the material you need.
Materiale
Fustella n'658268 Pillow Box "Tim Holtz"
Mascherina per embossing "Pois"
(o qualsiasi altra mascherina voi abbiate)
Cartoncino spesso bianco
Bigshot
2Fiori Rossi
1Fiore Bianco
Foglie
Timbri 
Iniziamo col fustellare la sagoma della pillow box.
Per fare ciò avremo bisogno della nostra macchina da taglio...la BIGSHOT.

 Let's start by punching the shape of pillow box.
To do this we will need our cutting machine ... the BIGSHOT.


Embossiamo la sagoma della scatolina
Prima un lato e poi l'altro

 Embossiamo the outline of the box
First one side and then the other


Con l'aiuto di una pieghetta marchiamo le linee evidenziate in modo che ci venga più facile 

chiudere la scatolina.
Applichiamo quindi una colla super forte nella linguetta di chiusura.

With the help of a Pleats we mark the highlighted lines so that there is easier
close the box.
Then apply a glue super strong in the flap.
Attendiamo che la colla asciughi del tutto
 e applichiamo con della colla a caldo i fiori,foglie,una tag con una timbrata ed il gioco è fatto!
Avrete delle deliziose scatoline da regalare.
All'interno io ho inserito un paio di orecchini che saranno destinati ad una carissima amica. 

 We wait for the glue to dry completely
  and apply it with hot glue the flowers, leaves, a tag with a stamped and you're done!
You will have to give away boxes of delicious.
Inside I put a pair of earrings that will be allocated to a dear friend.
 Bene il tutorial è terminato,spero che vi sia utile 
Un abbraccio
A presto
Melissa

Well the tutorial is over, I hope you find it useful
a hug
see you soon
Melissa


Consigli utili
La pillow box non serve semplicemente per realizzare scatoline!
E' una fustella che può essere sfuttata in diversi modi...
ad esempio per creare mini album,
porta posate segna posto,possiamo con essa realizzare anche delle tag da decorare con la tecnica mixmedia o con qualsiasi altra tecnica vi venga in mente.  

 Useful Tips
The pillow box is not needed simply to carry boxes!
It 'a die that can be sfuttata in different ways ...
for example to create mini album,
forks door marks the spot, we can achieve with it also the tag to be decorated with the technique mixmedia or by any other technique you can think of.


giovedì 2 aprile 2015

Vincitrice e Guest Designer Marzo.

Eccoci nuovamente con un nuovo post
per annunciare la vincitrice per il mese di Marzo.
E' stata davvero dura, tutti i progetti erano davvero bellissimi.
Ma come ogni sfida c'è una vincitrice 
e noi per il mese di Marzo abbiamo deciso che è...
Rullo di Tamburi
*******************************
Carissima  ANGELA la nostra vincitrice per il mese di Marzo sei tu!
COMPLIMENTI 
scrivici a: serra.melissa@yahoo.it 
La nostra Gd Per il mese di Maggio è...
 LISA
COMPLIMENTI anche a te cara Lisa
Scrivimi a 
serra.melissa@yahoo.it sarai la nostra GD per il mese di Maggio!

Come sempre ringraziamo tutte le partecipanti...
Mi raccomando partecipate ancora ancora e ancora.
Qui trovate il nuovo challenge di Aprile.

BACI
MELISSA
LULU'
SARA
MARIA.N.
LITTLEFROGRANOCCHIA
TIZIANA

mercoledì 1 aprile 2015

Challenge di Aprile #8 Sbocciano i Fiori

 Buonngiorno Carissime Scrapperine
Parte oggi il nuovo Challenge sul blog!
SBOCCIANO I FIORI
 Hello Dear scrapperine
Part of today's new Challenge Blog!
Flowers bloom

Vi ricordiamo che per partecipare al challenge bisogna essere FOLLOWER del blog
Il Challenge parte oggi 01/04/2015 e termina il 30/04/2015
Vi ricordiamo che oltre alla vincitrice ci sarà la nostra GD 
BUONO SCRAP A TUTTE
FATE SBOCCIARE I FIORI ;)
 Please note that to participate in the challenge must be FOLLOWER blog
The Challenge starts today and ends on 01/04/2015 30/04/2015
Please note that in addition to the winner will be our GD
GOOD SCRAP ALL
FATE BLOSSOMING FLOWERS;)


Melissa


Dt Lulu' Creazioni Artistiche

DT Littlefrog Ranocchia
  

DT Sara

VI RICORDIAMO CHE NELLA SIDEBAR ALLA DESTRA
Trovate la barra per poter inserire il vostro progetto sul blog.
VEDI FOTO